Building a Custom Shadow Box for Small Collectibles

In this guide, you'll learn how to design, build, and mount a custom shadow box specifically tailored for small collectibles like vintage bottle caps, pins, or small memorabilia. We'll cover material selection, depth requirements, and mounting techniques to ensure your items stay secure and look professional.
What Materials Do You Need to Build a Shadow Box?
You need a wooden or metal frame, a deep-set backing board, a clear glass or acrylic front, and specialized adhesive or mounting pins.
I suggest using a high-quality wood frame, like oak or walnut, to give the piece some weight. For the backing, velvet or felt works best to provide a high-contrast background for your items. If you're displaying light-colored items, use a dark navy or deep burgundy fabric. It makes the colors pop.
Here is a quick checklist of the essential supplies:
- The Frame: Look for a depth of at least 2 inches for most "smalls."
- The Backing: Foam core or thick cardboard covered in fabric.
- The Front: Acrylic is safer than glass if you're hanging this in a high-traffic area.
- Mounting Tools: Hot glue guns, clear fishing line, or specialized adhesive putty.
- Measuring Tools: A precision ruler and a level.
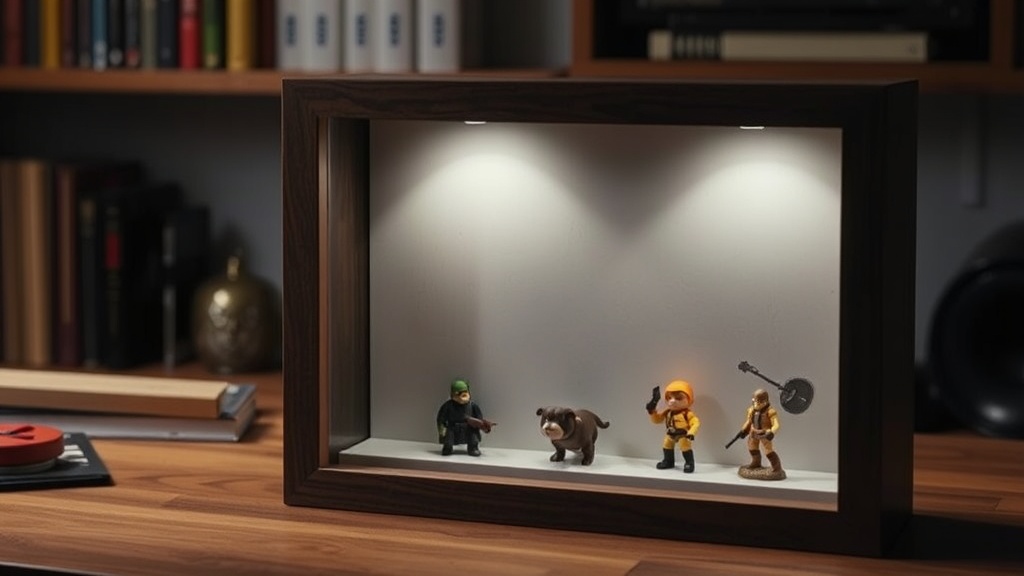
Don't forget the lighting. If you want to get fancy, a small LED strip tucked into the inner lip of the frame can make a huge difference. It turns a simple box into a museum-quality display.
How Do You Mount Small Collectibles Securely?
Mounting depends entirely on the weight and texture of the object you are displaying. You can use adhesive, mechanical fasteners, or tension to keep items in place.
If you're dealing with lightweight items like paper cinema tickets or thin metal pins, a simple adhesive works perfectly. For something slightly heavier, like a vintage metal bottle cap, you'll want more stability. You don't want a heavy-duty glue that ruins the item's value if you ever decide to sell it later (and collectors, I know you're always thinking about the resale value).
Here are three common ways to secure different types of items:
- The Glue Method: Best for lightweight, non-porous items like plastic tokens or metal caps. Use a tiny dot of clear-drying glue.
- The Pin Method: Ideal for fabric-backed displays. You can pin a vintage ticket or a small piece of memorabilia directly into the foam core.
- The Wire/Fishing Line Method: This is great for hanging objects that have a natural loop or hole. It creates a "floating" effect that looks very high-end.
A word of caution regarding metal items: if you are displaying vintage bottle caps, ensure they are clean. I've written a detailed piece on keeping metal bottle caps from rusting, which is a vital step before you seal them behind glass. Moisture trapped inside a sealed box is a recipe for disaster.
Designing Your Layout
Before you glue a single thing, lay everything out on a flat surface. This is the most important step. You'll likely realize your spacing is off once you actually start attaching items to the backing. Grouping items by color or era often looks better than a random scatter. For example, grouping all your 1950s-era soda tokens together creates a cohesive "story" for the viewer.
Leave plenty of "white space"—or in this case, "fabric space"—around each object. A cluttered shadow box looks messy and cheap. A well-spaced box looks like an intentional collection. If you're displaying a single, rare item, center it. If you're displaying a series, use a grid pattern.
| Item Type | Recommended Mounting | Difficulty Level |
|---|---|---|
| Vintage Soda Caps | Adhesive/Glue | Low |
| Paper Tickets | Clear Mounting Corners | Medium |
| Small Glass Bottles | Custom Wire Cradle | High |
| Metal Pins | Push-pin/Foam Core | Low |
How Much Does a Custom Shadow Box Cost to Make?
A custom shadow box can cost anywhere from $30 to $150 depending on the materials you choose. You can build a basic version for very little, but high-end materials will drive the price up quickly.
If you buy a pre-made shadow box from a big-box retailer, you're looking at $20 to $40. However, these are often quite shallow. If you want to display something with depth, you might need to visit a specialized craft store or a frame shop. A custom-built frame from a professional shop might cost $100 or more, but the quality and depth will be much better suited for your collection.
Actually, a budget-friendly hack is to buy a deep wooden crate and repurpose the back. It's a bit more work, but it gives you total control over the dimensions. This is especially helpful if you have oddly shaped items like a specific vintage bottle that doesn't fit standard-sized frames.
When choosing your materials, keep the long-term health of the items in mind. Acid-free materials are a must. If you use cheap cardboard or acidic wood, it can react with the metal in your bottle caps or the ink on your tickets. It's a small detail, but it matters. Check the preservation standards if you want to be truly professional about your archival methods.
One thing to watch out for is UV light. If your shadow box is going to hang in a room with a lot of natural light, you'll want UV-protective glass or acrylic. Without it, your colorful vintage tickets or bright-colored caps will fade over time. It's a shame to spend years collecting something only to have it turn dull because of a window.
The layout of your box is just as important as the assembly. Think about the "hero" of the piece. Is there one item that is the centerpiece? Everything else should support that item, not compete with it. If you have a particularly rare piece, give it the most space. If you're displaying a collection of similar items, a geometric or symmetrical layout usually works best.
One last thing—don't rush the drying process. If you're using glue, let it cure fully before you put the glass on. If you trap moisture or wet glue behind the glass, you'll end up with a foggy, messy mess that is a pain to clean out. Patience is your best friend in this process.
Steps
- 1
Select a Deep-Frame Shadow Box
- 2
Layout Your Items on a Flat Surface
- 3
Secure Items with Acid-Free Adhesive
- 4
Mount the Backing Board and Seal